DesignExpress Help System
Welcome to DesignExpress!
With a library of over 26,000 designs, it is helpful to
be able to find just the design you want. All designs are displayed at first. The
following features will better enable you to narrow your search results and find
the perfect design to fit your needs.
Contact Us
If you have any questions or feedback, please feel free to contact us at: designexpress@melco.com.
Start Browsing
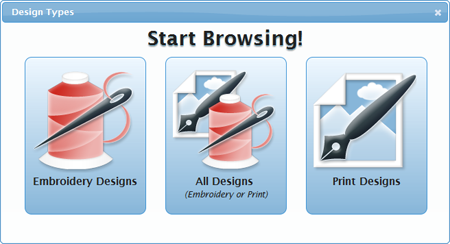
The first time you visit DesignExpress or if you have not visited the site for a while, you will be greeted by a window prompting you to choose which type of design you want to begin browsing. This will set the method filter. This can be changed at any time after you begin browsing the site.
Search Field
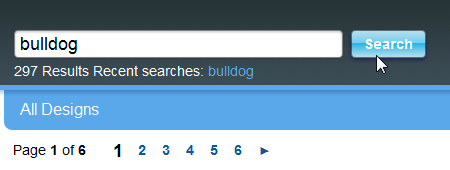
To start, the fastest way to find a design is to utilize the search field at the top of the screen. Type your desired search term in the field and click on the “Search” button. DesignExpress will change to display only designs with file names or tags that match your search term. The search field may be used in conjunction with tags and method filters.
Tags
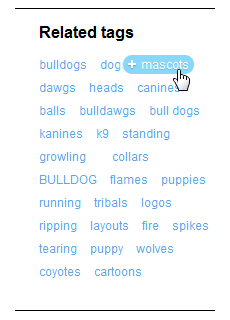
On the lower left side portion of the page, a list of tags is shown. Tags are keywords that are assigned to the design files. These tags may be selected to further refine your search. These tags are related to the search term and to each other. As tags are selected, the remaining options change to the most relevant tags.
To select a tag, hover over the desired word. A highlighted oval with a plus sign will appear around the design. Clicking on the highlighted term will add it to the search and further improve the results. To remove a tag, hover over the highlighted term. This time, a minus sign will appear in the highlighted oval. Click on the oval with the minus sign to remove the tag from the search criteria.
Multiple tags can be selected. As more tags are added, only designs that contain all of the search criteria and tags will be displayed. Tags appear in parenthesis when listed in the recent searches.
Method Filter
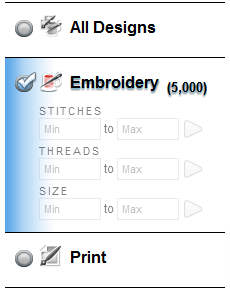
Designs may also be filtered by method (Print or Embroidery). To select a method, click the round button next to “Print” or “Embroidery”. The selected method will display a checkmark next to it and only designs of the selected type will be displayed. In the example shown below, the Embroidery method has been selected. To display all designs, click on the “All designs” method at the top of the left column on the page.
Each method can be filtered further. By entering a minimum and/or maximum number, print designs can be filtered by the number of colors in the design. This is accomplished just below the “Print” method heading.
Embroidery designs can be filtered in much the same way. Just below the “Embroidery” heading, they may be filtered by the number of stitches, color changes, or overall size of the design.
Displaying Design Information & Preview
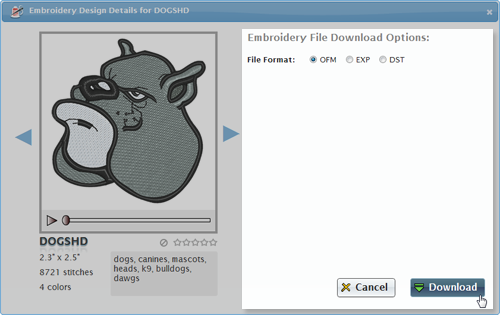
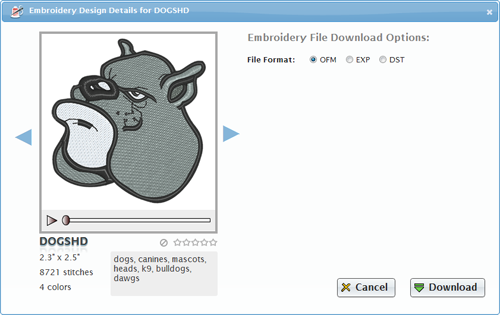
Hovering over a design will display a moderate amount of information such as file name, dimensions, and rating. Clicking on a design (or clicking on the “Details” button) will display a larger preview image, the file name, dimensions, number of colors, ratings, tags, and for embroidery, stitch-count, and stitch player. The stitch player, which animates the sewing of the design, will also be shown for embroidery designs.
Rating Designs
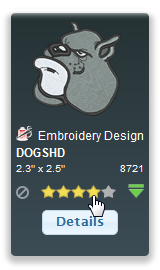
Hovering over the design will display a small preview. Clicking on either the small preview or the "Details" button will bring up the information and larger preview window.
Through either the small or larger preview, a rating system will be displayed. This system is tied directly to your account and will only apply to you. Rating the designs on a five star system, you may click on the number of stars you would like to rate the design. As you rate more designs, the more highly rated designs will begin to show first.
Once you have rated at least one design with 4 or 5 stars, a sub-category of “Top rated” will appear under “All designs” on the left side of the screen. Clicking on this will display only your highest rated designs.
To the left of the rating system in either preview mode is a symbol for hiding the design from all searches. By clicking on the circle with the bar, the design will be hidden away. It will still be viewable within the “Hidden away” sub-category below “All designs” at the top of the left column on the page.
Downloading the Design
Once you’ve found the perfect design, you can download it in one of two ways.
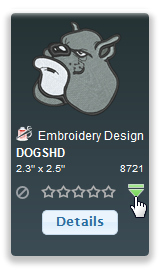
Hovering over the design will display the small preview. In the lower-right section of the preview is a green arrow with a line over it. Clicking on this button will begin the download of the selected design if you have previously downloaded this design. If this is a design you have not downloaded before, the “Design Information & Preview” window will be displayed. The lower-right corner of this window will contain a “Download” button with the same green arrow symbol. Click this button to begin the download. If you are on a monthly or fixed download plan, you will be informed of your remaining downloads and asked to confirm the download.
File Formats
A few options for various file formats will be displayed in the large preview of a design. They will vary based on the designs original intended purpose.
For Embroidery files, you may download an OFM, EXP, or DST file.
- OFM: These files are the native file type for DesignShop and AMAYA OS. They will maintain the color, wireframes, and properties. They may also be easily edited in DesignShop should changes be desired.
- EXP and DST: These files are less flexible than the OFM. They do not retain their color information and are purely the coordinates of the stitches. They have no wireframes and no properties. These files will work with certain non-Melco embroidery machines.
Print files have the options of EPS, SVG, and PNG. These graphic files may be used for print or opened in DesignShop and digitized for embroidery.
